Most of us live a long way from some members of our families, like grand parents or siblings. For others, we have partners that need to be away from home a lot for work. In these situations, our younglings miss these family members but can’t always find ways to express their feelings.
To help them, you can make a plushie family using family photos (or clip-art images) to keep these absent loved ones close and give your child(ren) an avenue to express their feelings.
What you need …
- White Tee-shirt transfer paper —> (or printable fabric)
- Printer
- White quilters fabric —> (if using the tee-shirt transfer paper)
- Bright coloured sewing machine thread
- toy stuffing —> (or a small new pillow insert)
- a collection of your favorite family photos or clip-art images
- Sewing machine —> (you can hand stitch this project – click here to see a tutorial using hand stitching)
- Basic sewing supplies —> pins, scissors (paper & fabric), a chop-stick for stuffing
Plus a photo editing program if you are using photo’s. I like to use Picmonkey, it’s free and very easy to use and they have a lot of free tutorials to help you when you get stuck.

Prepare your photo’s …
If you are using photos, cut around them using a photo editing program. Don’t be too fussy with this, just do a rough outline to crop out most of the background.
To do this in PicMonkey , open a blank canvas the approximate shape of your image; use either a white or transparent background. Import your image using the ‘Add your own’ function in the ‘Overlays’ menu. Using the Eraser tool, erase the background around your image. Crop the image to just around the person and save.

If you don’t have any photo’s, you can also use clip-art images. For this tutorial I used this pack from Pretty Grafic Design on Etsy.
Print on fabric …
If you are using print on fabric, please follow the direction that come with your fabric. You will need to leave enough room around each image to stitch around the person and cut them out leaving approximate a 3 mm (1/8th”) border.
Update: Domenica, from Easy Sewing For Beginners, has a great tutorial (step-by-step photo + Video) show how to print on regular cotton fabric using your home printer. Check it out here 🙂
Tee-shirt transfer …
Using a blank 8.5 x 11 inch (2550 x 3300 px) canvas in PicMonkey or a Word or Google Doc’s page (or similar program), arrange your images. You don’t need much space around them so smoosh them in, just make sure you have enough room to cut around each image. Don’t make them too small. Depending on how many images you have, you may need more than 1 page.
Tip:
Always do a test print first on printer paper to make sure you are happy with the images and their sizes.

Tip:
If you have anything with text on it, flip the image to create a reverse image … ask me how I know 😉
Transfer images to your fabric …
Using paper scissors, cut out each Plushie Family member. Trim around each image as close as you can, but don’t be too fussy trimming between legs etc.
Iron your fabric so it is nice and crease free. With your fabric scissors, cut pieces for each image, twice the size needed and leaving about 2cm (3/4 inch) around the image (see photo below). Transfer your images to your fabric according to the instructions for your tee-shirt transfer paper.

Sewing …
Using bright coloured thread, sew around each person. Leave a gap some where (i.e. at the bottom). This doesn’t have to be very neat , follow the basic shape for each piece. You could go around each piece several times using different colours for added decoration.
If you would prefer to hand sew around each piece, check out this tutorial for instructions for hand stitching.


Cutting out …
Once you have all your Plushie Family members stitched, cut around each one, leaving approximately 3mm (1/8th inch) from the stitching. If you have pinking shears, this can leave a nice zig-zag finish, but is not necessary.

Stuffing …
Using a chop-stick, push small amounts of toy filling through the opening. These little guys don’t need very much filling, just enough to fill them out without being over stuffed.

Finishing up …
Once your Plushie Family member is nicely filled, stitch across the opening. If you have a zipper foot for your machine, this can make stitching the opening a little easier. If you don’t have a zipper foot, push the filling back from the opening to give your machine foot room to sit flat. Don’t forget to back stitch at the beginning and end to secure the threads.

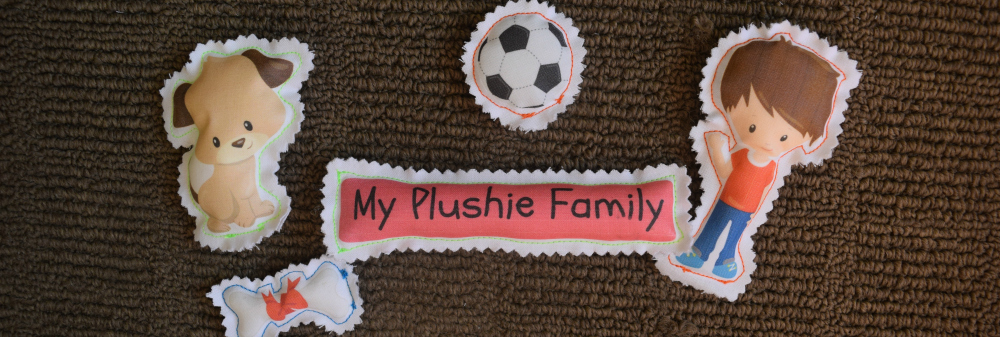
And there you have it – your Plushie Family 🙂

You can add all sorts of other objects and characters to this project – the family pet, furniture, car, house or how about some plants for the garden and a mat for the cat 🙂
Don’t forget to share what you make and tag me – Mignon Prider Design – on social media [IG – FB – G+]

Pin It …

More Free Tutorials …
For more free patterns and tutorials, hover your cursor over the ‘Tutorial’ tab in the header and pick from drop-down menu.

What a sweet idea Mignon…a little plushie family. So perfect for kids to hold and to talk too!! I loved your picmonkey instructions too!!
Thanks Trixi 🙂